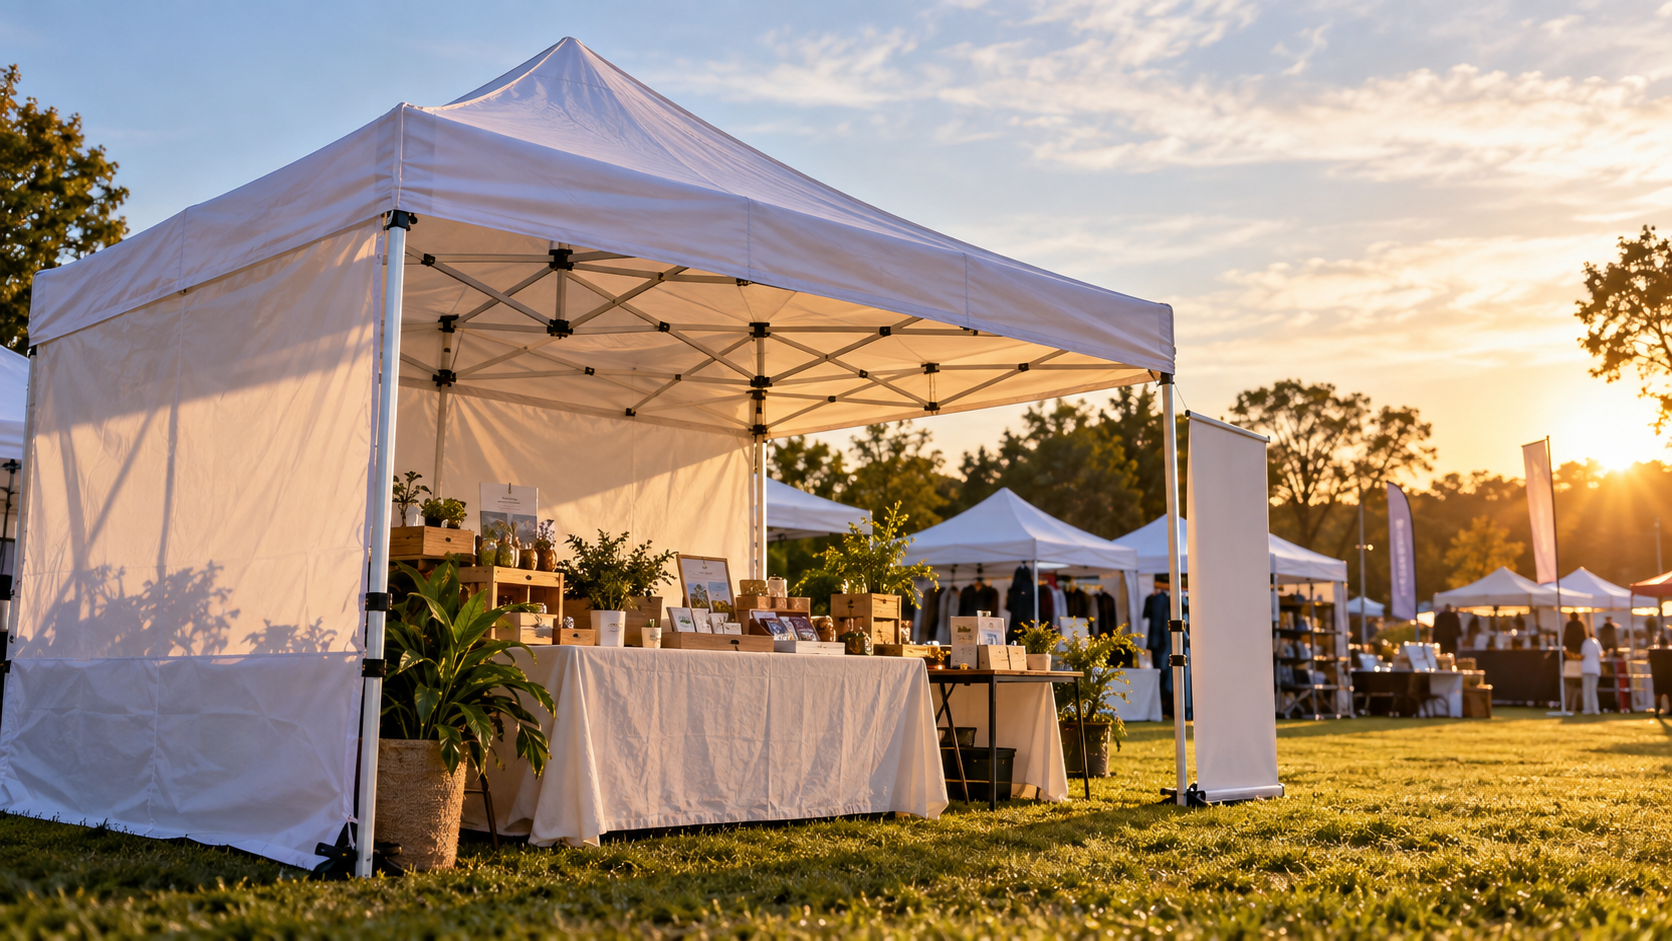
Every morning has two kinds of setup happening simultaneously. One team unloads, unfolds, and has a straight, anchored, professional-looking tent standing before the first coffee. Another team is fighting a frame that won’t open, hunting for missing stakes, and eyeballing a canopy that’s visibly leaning before the first customer arrives. Same product category, wildly different results. And the difference is almost never the tent. It’s the process.
A tent setup is a sequence, and like any sequence, it rewards doing the steps in order. Skip one and every later step gets harder. Anchor before leveling, and the tent sets are crooked. Dress the canopy before checking the wind, and the morning turns chaotic fast. Here’s the full sequence, from the van to event-ready, without the usual wrestling.
How to Set Up an Event Tent Safely and Efficiently

- Pick and Prep the Site Before Anything Comes Out of the Van
Setup actually starts before the frame is touched. Walk the spot first. Level ground is the priority. A slope means a leaning frame, pooling water on the canopy, and a display that reads as amateur from ten meters away.
Check what’s overhead. Trees mean sap, birds, and shade that moves by afternoon. Also check what’s underground. Irrigation lines and cables turn a simple stake into an expensive repair call. Note the sun’s afternoon position, not just where it is now, and check drainage if it rained recently. Two minutes of walking beats an hour of correcting.
Then stage everything. Frame, canopy, weights or stakes, walls, tools. Lay them out in the order they’ll be needed. Most setup chaos is really a search problem. Someone’s holding up the whole job looking for the strap.
- Unfold the Frame Flat, Then Raise It Gradually
Here’s the step that separates smooth setups from wrestling matches. Modern pop-up frames are scissor mechanisms, and they’re designed to open gradually, not to be heaved upward by two people guessing.
Lay the frame on the ground roughly where it will stand. Unfold it partway, then walk around the frame opening it a little at each corner, again and again, until it’s nearly full height. Two people make this fast. One person can do it slowly. The rule is that nothing gets forced. If the scissor action resists, something has snagged, and forcing a snagged joint is how frames get bent on their first outing.
For teams using a 10×10 custom pop-up tent, the same basic sequence applies. Only when the frame is standing does the canopy go on. Spread it flat over the top, corners aligned with the frame corners, then secure the Velcro or attachment points before the legs get extended. Canopy first on the ground setups are how fabric gets dragged across dirty pavement and torn.
- Level, Extend, and Anchor in That Order
Extend the legs one click at a time, working corner to corner so the frame rises evenly. Get the height right before anchoring, because adjusting after anchoring means undoing work.
Then anchor immediately. Before dressing the tent, before arranging displays, before anything else. A canopy is a kite waiting for a gust, and “we’ll weigh it down in a minute” is the sentence that precedes most tent disasters. Stakes on soft ground, angled away from the tent at roughly 45 degrees. Real weight on hard surfaces. Proper canopy weights or sandbags flush against every leg, not a single bag and good intentions. On soft ground after rain, remember that wet soil loosens stakes, so anchor deeper than feels necessary.
For vendors setting up food service, this stage carries extra weight, literally. A food vendor tent setup holds cooking equipment, serving surfaces, and a queue of customers, so every leg gets full anchoring, and the frame gets checked for level one more time before anything heavy goes inside. A tent that shifts under load mid-service isn’t just embarrassing. It’s a safety problem with a queue standing under it.
- Dress the Space for Function, Not Just Looks
With the frame stable, the interior comes together fast if the layout follows customer flow. Back wall and branding positioned to be readable from the approach angle. Table along the front edge or angled outward so staff face the aisle. Products at eye level. The entrance side was kept open. People won’t walk into a space they can’t see into.
Event markers deserve a mention here too. Many events organize their space with entrance features that pull footfall toward specific zones, and a custom inflatable tent setup is the classic example. Visible across a field, quick to position and inflate, and it gives attendees a landmark to navigate by. Coordinating your setup near those natural traffic points matters as much as anything happening inside the tent itself.
Final walk-through before opening. Every strap tight, every weight flush, canopy taut with no pooling spots, interior clear of trip hazards, and a spare moment to recheck the sky. Then open.
End Point
A fast, safe tent setup isn’t about strength or experience. It’s about sequence. Site checked before unloading, frame unfolded flat before raising, canopy aligned before legs extend, and everything anchored before a single display goes inside. Add a layout built around customer flow and a final walk-through, and the whole job settles into a calm twenty-minute routine. Do it the same way every time and the tent stops being the stressful part of event day. It becomes the easy part, standing straight and professional before the first visitor arrives.


Leave a Reply