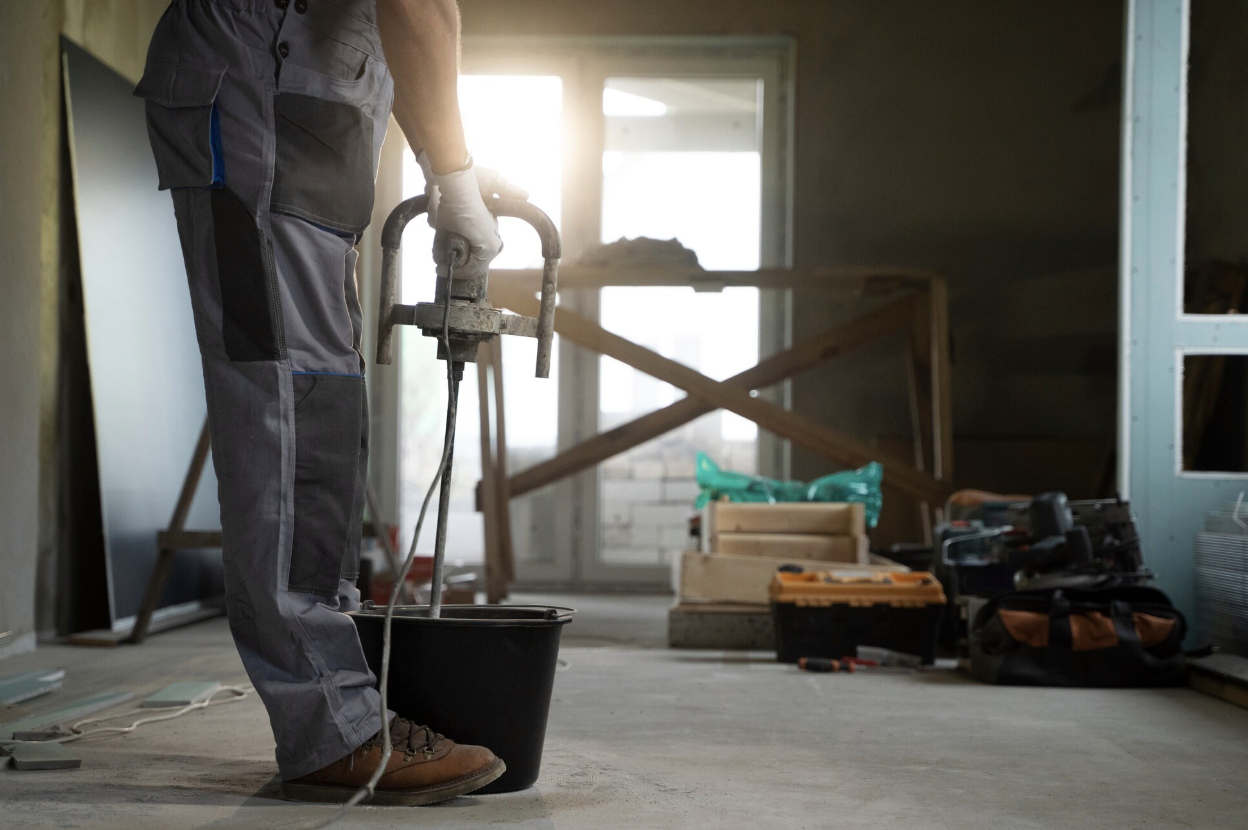
Finishing a basement is one of the best ways to add living space to your home. Done right, it creates rooms your family actually uses and adds serious value to your property.
Done wrong, it becomes a money pit that smells musty, feels cold, and develops problems within months.
The difference between a great basement and a disaster often comes down to a few critical decisions made early in the project. Most mistakes happen because homeowners don’t understand how basements differ from above-ground spaces. They apply regular room logic to an environment that plays by different rules.
If you’re planning a basement finishing boulder or anywhere else, understanding common mistakes helps you avoid expensive fixes later.
Some errors are just inconvenient. Others create health hazards or structural damage that cost tens of thousands to repair.
This guide walks through the biggest basement finishing mistakes, why they happen, and how to avoid them.
Mistake #1: Ignoring Moisture Issues Before Starting
This is the number one mistake that ruins basement projects.
Why it’s so common: The basement seems dry. You haven’t noticed water. Maybe there’s a small damp spot occasionally, but nothing major. So you proceed with finishing.
Why it’s a disaster: Basements are below grade. They’re surrounded by soil that holds moisture. Even small moisture problems that seem minor will destroy finished spaces through:
- Mold growth behind walls you can’t see
- Warped flooring and baseboards
- Peeling paint and bubbling drywall
- Musty odors that never go away
- Ruined insulation
- Health issues from mold exposure
The fix before you start: Test your basement for moisture issues first:
The plastic sheet test:
- Tape plastic sheets to the floor and walls in several spots
- Leave for 72 hours
- If condensation appears under the plastic: moisture coming through concrete
- If condensation appears on top: humidity issue in basement air
Look for evidence:
- Efflorescence (white powdery deposits on concrete)
- Dark stains on walls or floor
- Musty smell
- Rust on metal objects
- Previous water marks
Solutions to implement before finishing:
- Fix grading and drainage around foundation
- Install or improve gutters and downspouts
- Seal foundation cracks
- Install interior or exterior waterproofing
- Add sump pump if needed
- Install dehumidifier
- Ensure proper ventilation
According to the American Society of Home Inspectors, about 60% of basements have some moisture problem. Address it before you build walls, not after.
Mistake #2: Skipping the Permit Process
Many homeowners try to finish basements without permits to save money or hassle.
Why people skip permits:
- Think it’s just extra bureaucracy
- Want to avoid inspection requirements
- Don’t want to increase property taxes
- Trying to save permit fees ($500-2,000 typically)
Why it’s a huge mistake:
Safety issues: Building codes exist for good reasons:
- Proper egress in case of fire
- Electrical work done safely
- Structural support adequate for load
- Ventilation requirements met
Without permits, your basement might be dangerous and you won’t know it.
Financial consequences:
- Insurance may not cover unpermitted work
- Can’t claim the space in home value
- Must disclose unpermitted work when selling
- Buyers’ lenders may refuse to finance
- May be forced to tear out work and redo it
- Fines from building department
The resale reality: Home inspectors find unpermitted work.
When they do:
- Buyers demand permits be obtained retroactively (expensive)
- Or buyers walk away from the deal
- Or buyers demand price reduction equal to full redo cost
What permits actually protect:
- Ensures electrical work won’t cause fires
- Verifies egress windows for emergency escape
- Confirms ceiling height meets code
- Checks that structural modifications are safe
- Documents work properly for future owners
The permit fee seems expensive until you compare it to ripping out a finished basement and starting over.
Mistake #3: Insufficient Ceiling Height
Many basements have low ceilings to begin with. Making them lower with finishing creates problems.
Code requirements: Most jurisdictions require:
- Habitable rooms: minimum 7 feet ceiling height
- Beams and ducts: can drop to 6 feet 8 inches
- At least 50% of room must meet full height requirement
Why people mess this up: They add:
- Drop ceiling (loses 4-6 inches)
- Insulation and drywall (loses 2-3 inches)
- New flooring (loses 1-2 inches)
Suddenly a 7-foot basement becomes 6 feet 4 inches, illegal and claustrophobic.
Solutions for low ceilings:
Before you build:
- Measure exact ceiling height
- Calculate how much finishing will reduce it
- If you’ll be below code, explore alternatives
Design alternatives:
- Spray foam insulation instead of batts (thinner)
- Drywall directly to joists instead of drop ceiling
- Thin floor options instead of thick subfloor
- Paint joists and ducts instead of covering them
- Excavate floor (expensive but sometimes necessary)
The psychological factor: Even if you meet minimum code, very low ceilings make spaces feel oppressive. People won’t want to spend time there. If ceiling height is marginal, reconsider finishing at all.
Mistake #4: Wrong Insulation Choices
Insulating basements isn’t like insulating above-ground walls.
Common mistake: Using fiberglass batt insulation directly against concrete foundation walls.
Why it fails:
- Concrete conducts cold
- Moisture passes through concrete
- Fiberglass batts absorb that moisture
- Wet insulation grows mold
- Loses all insulating value when wet
- Creates perfect mold habitat
Better options:
Rigid foam board:
- XPS or polyiso foam boards
- Goes directly against concrete
- Vapor barrier built in
- Doesn’t absorb moisture
- Maintains R-value when damp
Spray foam:
- Creates air and moisture barrier
- Highest R-value per inch
- More expensive but very effective
- Professional installation required
Insulated basement wall systems:
- Specially designed for below-grade
- Built-in moisture management
- Integrated insulation
- More expensive but comprehensive solution
The dry space principle: Basements need different insulation strategies than above-ground spaces. Use products specifically rated for below-grade applications.
Mistake #5: Inadequate Egress Windows
Egress windows aren’t optional, they’re life-safety requirements.
What egress means: Every bedroom needs a window large enough for:
- Firefighters to enter
- Occupants to escape during emergency
- Minimum opening: typically 5.7 square feet
- Maximum sill height: typically 44 inches from floor
- Minimum opening dimensions: usually 20 inches wide, 24 inches tall
Why people skip them:
- Expensive ($3,000-7,000 per window)
- Requires excavation and cutting concrete
- Disrupts landscaping
- Seems unlikely they’ll ever need it
Why you absolutely need them:
Code compliance: Can’t legally call a basement room a bedroom without egress. If you skip it:
- Room must be listed as “bonus room” or “den”
- Reduces home value (buyers pay more for bedrooms)
- Failed inspection if you try to permit later
Safety: Basement fires are especially dangerous:
- Smoke rises, trapping people below
- Only one stairway exit in most basements
- Window provides crucial second exit
- Could save lives in emergency
Insurance implications: Some insurance companies won’t cover basement bedrooms without proper egress or charge higher premiums.
According to the National Fire Protection Association, homes without proper egress have significantly higher fire death rates.
Don’t fake it: Some homeowners install small windows that don’t meet egress requirements, thinking they’re close enough. They’re not. Inspectors measure. Code is specific for good reason.
Mistake #6: Poor Planning for Mechanicals
Basements house furnaces, water heaters, electrical panels, and plumbing. Finishing around them requires planning.
Access issues: Common mistakes:
- Building walls that block access to equipment
- Covering electrical panels with drywall
- Finishing spaces with no way to replace water heater
- Blocking shut-off valves
- No access to sewer cleanouts
Code requirements:
- Electrical panels need 3-foot clearance in front
- HVAC equipment needs specified clearances
- Can’t permanently enclose mechanicals
- Access panels required in certain locations
- Clearances vary by equipment type
The replacement problem: Water heaters last 10-15 years. Furnaces last 15-20 years. If you finish your basement with no way to remove and replace this equipment, you’ll be:
- Cutting through walls later
- Paying much more for difficult replacement
- Potentially unable to replace at all without major demo
Smart mechanical planning:
Create utility room:
- Dedicate space for mechanicals
- Leave unfinished or minimally finished
- Ensure door is wide enough for equipment removal
- Maintain required clearances
Plan for future:
- Map where equipment sits
- Document access routes
- Consider where new equipment might go
- Leave removable access panels
Consider relocations: Sometimes moving equipment during finishing makes sense:
- Relocate water heater to better spot
- Move laundry to more convenient location
- Reconfigure to maximize finished space
Mistake #7: Ignoring Sound Transmission
Basements transmit sound differently than above-ground spaces.
Common complaints:
- Every footstep from above sounds like thunder
- Toilet flushes echo through basement
- Can hear every conversation upstairs
- Kids playing upstairs too loud for basement home office
- TV or music from basement bothers upstairs rooms
Why it’s worse in basements:
- Sound travels through floor joists directly
- Hard surfaces reflect sound
- Often less furniture to absorb sound
- Ductwork acts as sound transmission pathway
Solutions to add during finishing:
Ceiling soundproofing:
- Acoustic insulation between joists
- Resilient channel to decouple drywall
- Multiple drywall layers with Green Glue
- Acoustic ceiling tiles in some areas
Floor above soundproofing: If you’re willing to invest more:
- Add underlayment to flooring above
- Carpet instead of hard flooring above
- Sound-dampening materials under subfloor
Realistic expectations: Complete sound isolation is expensive. Focus on:
- Reducing footstep noise (biggest complaint)
- Containing loud activities (theater rooms)
- Privacy for bedrooms
- Acceptable background noise levels
Budget $2-5 per square foot for basic soundproofing, more for comprehensive solutions.
Mistake #8: Wrong Flooring Choices
Basement floors face unique challenges that ruin many flooring types.
Flooring mistakes:
Solid hardwood:
- Absorbs moisture and warps
- Swells in humid conditions
- Gaps form in dry conditions
- Not rated for below-grade installation
- Voids warranties when used in basements
Regular carpet over concrete:
- Moisture from concrete ruins carpet
- Mold grows in padding
- Smells develop quickly
- Needs proper subfloor system first
Cheap laminate:
- Low-quality laminate absorbs moisture
- Swells at edges
- Not rated for basements
- Only certain laminates work below grade
Better basement flooring:
Luxury vinyl plank (LVP):
- Completely waterproof
- Looks like wood
- Comfortable underfoot
- Easy installation
- Durable
Engineered hardwood:
- Some types rated for basements
- More stable than solid wood
- Check manufacturer specs carefully
- Needs proper subfloor
Tile or polished concrete:
- Completely moisture-proof
- Very durable
- Cold without radiant heat
- Hard underfoot
Carpet with proper system:
- Requires vapor barrier
- Needs subfloor with air gap
- Use moisture-resistant padding
- Choose carpet rated for basements
The subfloor question: Most basement flooring needs subfloor system:
- Creates air space above concrete
- Allows moisture to evaporate
- Insulates floor
- Makes floor comfortable
- Adds 1-2 inches to floor height
Mistake #9: Inadequate Lighting
Basements are dark by nature. Finishing with poor lighting creates dungeon-like spaces.
Why basements need more light:
Limited natural light:
- Small or no windows
- Below-grade limits window size
- North-facing windows common
- Trees or structures block light
Darker surfaces:
- Concrete naturally dark
- Low ceilings feel darker
- Less ability to bounce light
Psychological impact: Dark spaces feel:
- Smaller than they are
- Unwelcoming
- Depressing
- Cold
Lighting strategy for basements:
Layer your lighting:
- Ambient (general room lighting)
- Task (reading, work areas)
- Accent (highlighting features)
Use more lights than you think:
- Recessed lights every 4-6 feet
- Multiple light switches for flexibility
- Dimmers for mood control
- Under-cabinet lights in bars or workspaces
Choose warmer color temperatures:
- 2700K-3000K feels warmer, more inviting
- Avoid cool white (makes basements feel cold)
- LED options now offer warm tones
Maximize natural light:
- Larger egress windows when possible
- Light-colored window wells
- Mirrors to reflect available light
- Light paint colors on walls
According to lighting designers, basements need 50-70 foot-candles of light compared to 20-30 for above-ground living spaces.
Mistake #10: Forgetting HVAC Needs
Basements have different heating and cooling needs than above-ground spaces.
Temperature challenges:
- Naturally cooler year-round
- Can be cold in winter without heat
- Sometimes too humid in summer
- Uneven temperatures in different areas
Common HVAC mistakes:
Assuming existing system handles it: Your furnace sized for your current square footage may not handle added basement space adequately.
Not adding enough vents: One or two vents can’t heat/cool large basement areas effectively.
Ignoring returns: Supply vents blow air in, but you need returns to pull it back. Without proper returns:
- Air doesn’t circulate
- Rooms stay stuffy
- Temperature imbalances
- HVAC system works harder
Solutions:
Assess current capacity: Before finishing, have HVAC pro evaluate:
- Can current system handle added square footage?
- Where should vents be placed?
- Are additional returns needed?
- Should you zone the basement separately?
Consider supplemental systems:
- Mini-split systems for independent control
- Electric baseboards for occasional use rooms
- Space heaters (not ideal but sometimes adequate)
Plan for humidity control:
- Dehumidifier sized for basement square footage
- Drainage for continuous operation
- Humidistat controls
Budget reality: Extending HVAC properly costs $2,000-8,000 depending on system type and basement size. Not budgeting for this leaves you with an uncomfortable space.
Mistake #11: Unrealistic Budget
Basement finishing costs more than people expect.
Why budgets fail:
Underestimating square footage costs: National averages: $25-100 per square foot for basement finishing
That means a 1,000 square foot basement costs:
- Basic finish: $25,000-40,000
- Mid-range: $40,000-70,000
- High-end: $70,000-100,000+
Forgetting hidden costs:
- Permits and inspections
- Design or architect fees
- Moisture remediation discovered during work
- HVAC extensions
- Electrical panel upgrades
- Plumbing for bathroom
- Egress window installation
- Unexpected issues (always happen)
The 20% rule: Add 20% contingency to your budget. Basements always reveal surprises:
- Structural issues
- More moisture problems than expected
- Outdated wiring that needs updating
- Plumbing that needs rerouting
According to Remodeling Magazine’s 2024 Cost vs. Value Report, basement remodels return about 70% of cost at resale. They add value, but shouldn’t be done purely as financial investment.
Mistake #12: DIY Beyond Your Skill Level
Some basement finishing work is DIY-friendly. Some aren’t.
Good DIY projects:
- Painting
- Installing trim
- Basic framing (if you know what you’re doing)
- Installing some flooring types
- Simple finishing work
Leave to professionals:
- Electrical work (safety and code issues)
- Plumbing (can cause major damage if wrong)
- HVAC installation
- Egress window cutting and installation
- Structural modifications
- Spray foam insulation
- Waterproofing systems
The false economy: Doing work yourself to save money backfires when:
- You make mistakes that cost more to fix
- Work doesn’t pass inspection
- You create safety hazards
- Project takes so long you lose motivation
- Resale is affected by poor workmanship
The time factor: Professional crews finish basements in weeks. DIY projects often stretch to months or years.
Consider:
- Your time has value
- Living with construction is stressful
- Unfinished projects affect home value
- Half-finished spaces can’t be used
The Bottom Line
The biggest basement finishing mistakes share a common theme: treating basements like above-ground spaces. They’re not. They have unique challenges with moisture, egress, ceiling height, and mechanicals that require different approaches.
The most expensive mistake is starting before addressing moisture issues. No amount of beautiful finishing survives water problems. Test thoroughly, fix drainage, and waterproof properly before building a single wall.
The most dangerous mistakes involve skipping permits and proper egress. These aren’t just bureaucratic requirements, they’re life-safety measures that protect your family and your investment.
The smartest approach to basement finishing is:
- Address moisture issues completely
- Get proper permits and inspections
- Plan for adequate ceiling height
- Install required egress windows
- Use appropriate materials for below-grade conditions
- Budget realistically with contingency funds
- Hire professionals for specialized work
A well-finished basement adds valuable living space and increases home value. A poorly finished basement creates ongoing problems, health hazards, and resale complications. The difference comes down to understanding what makes basements unique and planning accordingly.
Take your time, do it right, and you’ll create space your family enjoys for decades.


Leave a Reply