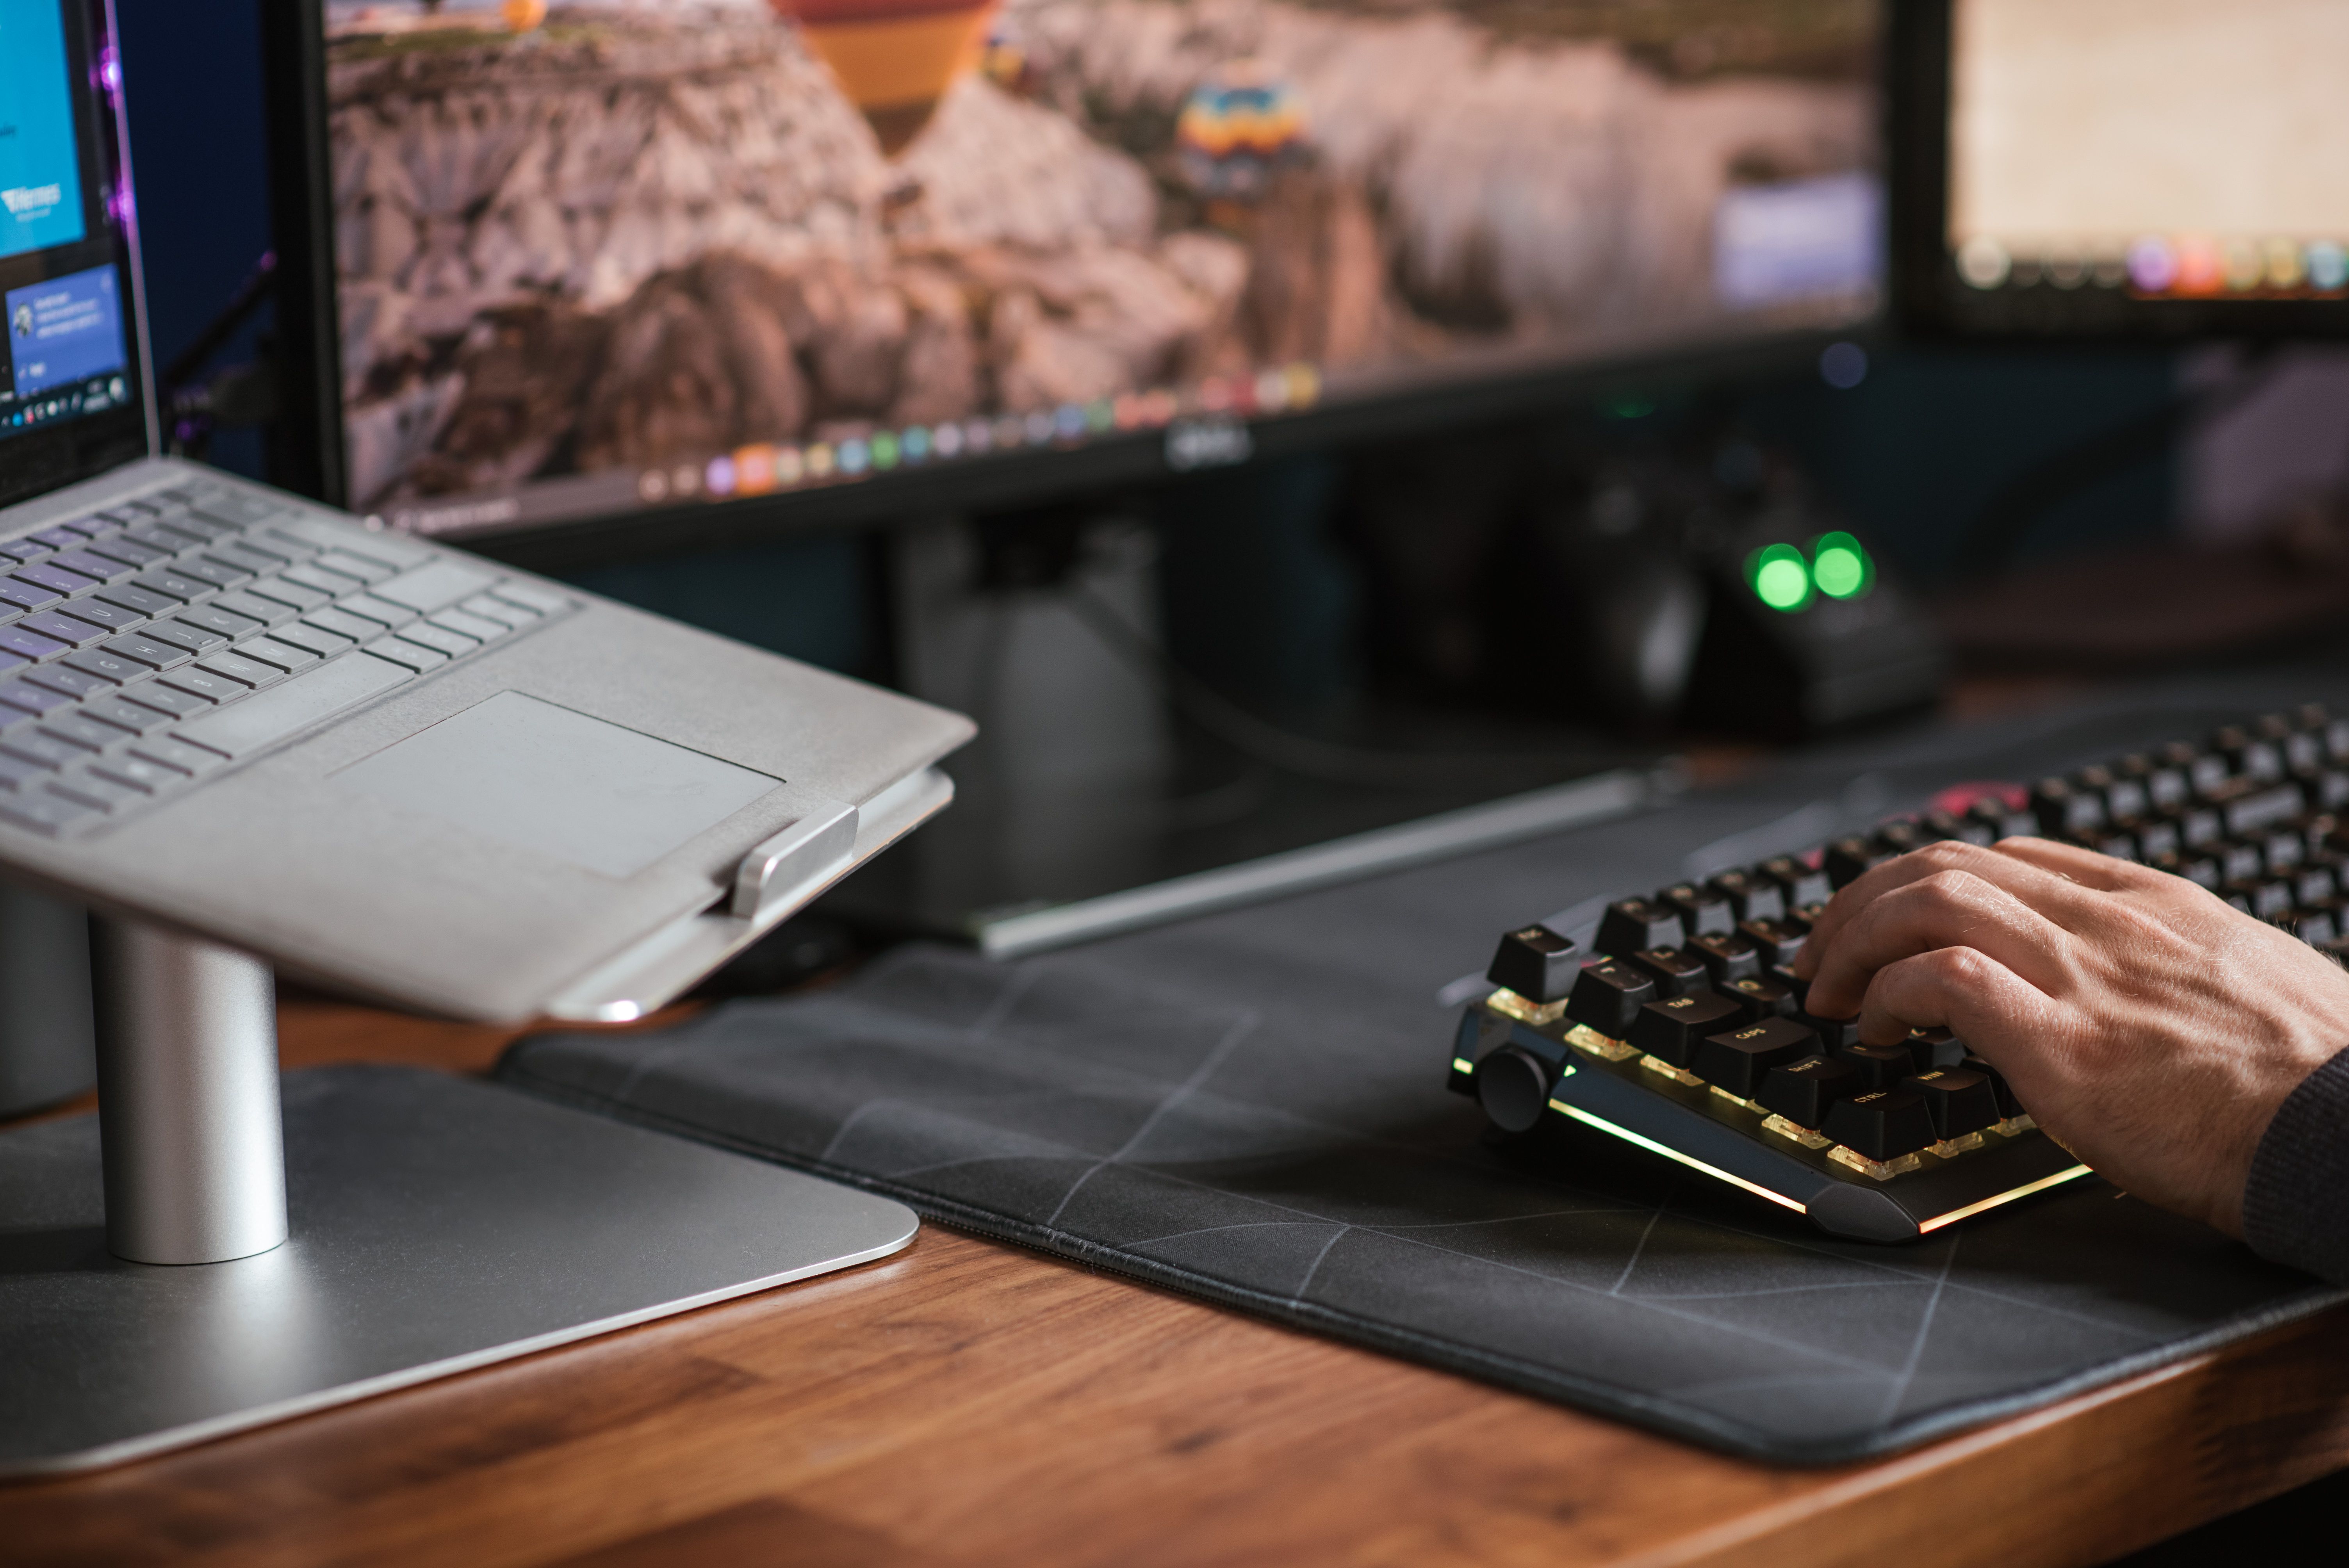
Every time you tap a mechanical keyboard, set down a coffee mug, or bump your knee against your desk, physical kinetic energy travels directly through your furniture. To a sensitive condenser or dynamic microphone, these subtle physical impacts sound like subterranean thumps that ruin podcasts, live streams, and vocal takes.
Stopping structure-borne noise requires mechanical decoupling—breaking the physical chain that transfers vibrations from your work surface into your microphone’s internal capsule.
1. Understanding How Desk Vibrations Reach Your Mic
Quick Answer: Physical impacts travel through solid surfaces faster than air, transferring kinetic energy directly into the microphone body where it causes low-frequency audio rumble (typically between 20 Hz and 100 Hz).
Sound moves through air as pressure waves, but kinetic energy moves through solid materials—like wood, metal, and plastic—with remarkable efficiency. This process is called mechanical coupling.
When a microphone sits on a basic desktop tripod or clamps directly to a rigid desk frame, every physical movement on that surface turns your desk into a giant tuning fork. Standard microphone clips lack damping materials, forcing the sensitive diaphragm inside the capsule to register these mechanical shakes as heavy, distorted bass impacts.
2. Installing Studio Microphone Shock Mounts for True Decoupling
Quick Answer: Shock mounts suspend the microphone in mid-air using elastic bands or rubberized polymer rings, absorbing kinetic energy before it reaches the microphone body.
Upgrading to dedicated studio microphone shock mounts is the single most effective hardware fix for desk noise. Instead of bolting the microphone directly to a rigid stand, a shock mount cradles the microphone within a floating suspension frame.
When choosing a shock mount, verify that its suspension tension matches your microphone’s weight. If a microphone is too heavy for a lightweight elastic mount, the inner frame bottoms out against the outer ring, short-circuiting the isolation system.
3. Upgrading to an Isolated Boom Arm Setup
Quick Answer: Broadcast boom arms remove the microphone from the active desk surface, using rubberized C-clamps and internal spring dampening to isolate mechanical noise.
Desktop tripod stands sit directly in the high-impact zone of your desk, picking up every wrist movement and keyboard stroke. Moving your microphone off the desktop and onto an adjustable arm creates crucial physical distance.
Effective microphone boom arm isolation depends on three key structural elements:
- Padded Desk Clamps: Ensure the mounting C-clamp features thick neoprene or rubber padding on both upper and lower contact plates.
- Dampened Internal Springs: Inexpensive boom arms use exposed external springs that ping and ring when bumped. Premium arms house springs inside acoustic foam sleeves.
- Snug Cable Management: Loose XLR or USB cables that slap against desk legs act as secondary bridges for mechanical vibration. Secure your cables along the boom chassis using velcro straps.
4. Maximizing Desk Mass and Structural Stability
Quick Answer: Increasing the physical weight and frame rigidity of your studio desk absorbs kinetic energy, preventing surface impacts from turning into acoustic resonance.
Lightweight, hollow-core honeycomb desks act like acoustic soundboards, amplifying typing impacts and PC fan hum. Solid wood tops, dense MDF, and heavy steel legs absorb kinetic energy far more effectively than lightweight furniture.
In commercial environments where stability and vibration dampening are paramount—much like how commercial venues rely on heavy duty restaurant table bases to eliminate wobble and absorb structural impacts—a heavy studio desk foundation prevents mechanical energy from transferring upwards.
If upgrading your desk frame is not an option, place a heavy neoprene desk pad under your keyboard and mouse. Adding thick rubber isolation feet beneath your desktop equipment stops kinetic energy right at the point of impact.
5. Applying High-Pass Filters to Eliminate Sub-Bass Noise
Quick Answer: Engaging an 80 Hz high-pass filter (low-cut filter) on your microphone or audio interface removes non-vocal handling noise without altering human speech clarity.
While physical isolation should always be your first line of defense, digital signal processing (DSP) offers an additional layer of protection. Because physical desk thumps consist almost entirely of frequencies below 100 Hz, targeted filtering removes residual rumble cleanly.
- Hardware Low-Cut Switches: Many condenser and dynamic microphones feature built-in hardware switches that roll off frequencies below 80 Hz or 100 Hz directly at the capsule.
- Interface Preamp DSP: Modern USB interfaces often include hardware-level high-pass filters that prevent low-end rumble from overloading analog-to-digital converters.
- DAW / Streaming Software EQ: Apply a sharp high-pass filter curve (18 dB or 24 dB per octave) at 75 Hz in your recording software to strip out subterranean handling noise.
6. Common Studio Vibration Myths vs. Facts
- Myth: Foam windscreens and mesh pop filters stop desk vibration noise.
- Fact: Pop filters and foam covers dissipate air blasts caused by vocal plosives (such as “P” and “B” sounds). They provide zero protection against physical, structure-borne desk vibrations.
- Myth: Placing a towel or foam pad under a desktop tripod completely fixes handling noise.
- Fact: Soft foam under a tripod offers minor high-frequency dampening, but low-frequency rumble easily passes through soft pads into rigid tripod legs.
- Myth: Dynamic microphones are immune to desk vibrations.
- Fact: While heavy dynamic mics feature internal capsule shock-mounting, strong desk impacts still travel through their metal housings into your recording track.
7. The Ultimate Desk Isolation Checklist
Review this practical setup checklist to audit your workspace for structure-borne noise:
- [ ] Replace Rigid Clips: Swap basic plastic mic clips for a dedicated elastic or thermoplastic shock mount.
- [ ] Offload the Stand: Move from a desktop tripod to a padded, heavy-duty broadcast boom arm.
- [ ] Pad the Work Surface: Use an oversized neoprene desk pad under your keyboard, mouse, and desktop accessories.
- [ ] Secure the Wiring: Strap XLR and USB cables snugly to the boom frame to prevent cable slap.
- [ ] Dampen the Desk Base: Increase desk mass or add rubber shims under C-clamp contact points.
- [ ] Activate High-Pass Filtering: Engage an 80 Hz low-cut filter on your microphone, interface, or software.
Frequently Asked Questions
Why does my microphone still pick up keyboard clicks even after installing a shock mount?
A shock mount isolates mechanical vibrations moving through the desk wood. However, mechanical key switches also create airborne acoustic clicks. To reduce airborne typing noise, use a dynamic microphone with a tight cardioid polar pattern, place it close to your mouth, and position the rear of the mic toward your keyboard.
Can I build a DIY shock mount using rubber bands?
While DIY suspension rigs using hair ties or rubber bands can temporarily absorb large thumps, commercial shock mounts use calibrated elastomer rings that provide consistent tension and long-term stability without risking a microphone drop.
Achieving Pristine Studio Audio
Eliminating desk vibrations requires a layered approach to physical and digital isolation. By suspending your microphone in a quality shock mount, lifting it onto a dampened boom arm, stabilizing your desk surface, and rolling off sub-bass frequencies, you stop structure-borne noise at every stage.
Investing time in proper mechanical decoupling ensures your audience hears your natural voice, free from distracting desk thumps, low-end rumble, and handling noise.



Leave a Reply