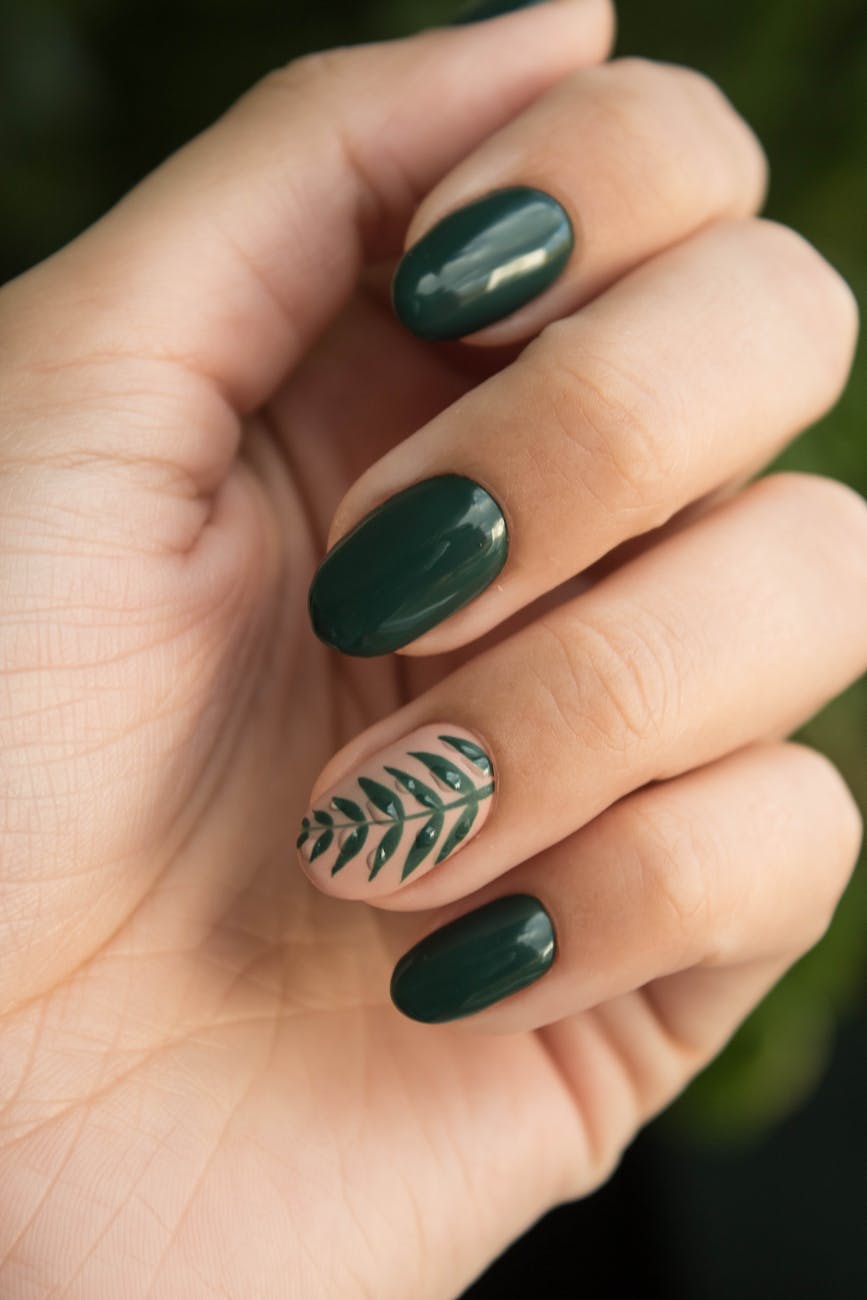
The nail salon industry changed forever when UV-cured gel systems became accessible for home use. What used to require expensive professional equipment and years of training can now be done in your living room with surprisingly good results. Getting salon-quality gel nails at home isn’t just about saving money – though you’ll save about $2,000 annually compared to regular salon visits – it’s about having perfect nails whenever you want them without scheduling appointments or waiting weeks for availability.
Understanding Gel Chemistry and Why It Matters
Regular nail polish dries through solvent evaporation, which creates a relatively soft, chippy finish that barely lasts a week. Gel polish works completely differently. It contains photoinitiators that trigger polymerization when exposed to specific wavelengths of UV or LED light.
This chemical process creates cross-linked polymer chains that form a much harder, more durable coating. The curing process is irreversible, which is why gel nails can last 2-3 weeks without chipping when applied correctly.
The key to salon-quality results is understanding that each coat needs complete polymerization before applying the next layer. Incomplete curing creates weak adhesion between layers and leads to premature lifting and chipping.
Temperature affects curing time significantly. Cold nails cure slower and may not polymerize completely even with extended light exposure. Room temperature should be between 68-75°F for optimal results, and warming your hands before application improves curing consistency.
Equipment That Actually Makes a Difference
The lamp is the most critical piece of equipment, but not all nail lamps are created equal. Professional salons use lamps that emit 36-54 watts of power across the optimal wavelength spectrum for gel polymerization.
LED lamps cure faster than traditional UV lamps and have longer-lasting bulbs, but some gel formulas are optimized for UV light and don’t cure properly under LED illumination. Check your gel manufacturer’s recommendations before choosing a lamp type.
Lamp positioning affects curing quality. Your nails should be positioned 4-6 inches from the light source with fingers spread to ensure even light exposure. Curved lamp designs provide better coverage than flat panel lamps for this reason.
Quality base and top coats make a bigger difference than expensive color gels. Professional-grade base coats contain adhesion promoters that bond chemically to the nail plate. Cheap base coats rely primarily on mechanical adhesion and fail much sooner.
Surface Preparation That Prevents Lifting
Most home gel nail failures happen because of inadequate surface preparation, not poor application technique. Natural nail oils create a barrier that prevents proper adhesion even with the best products.
Start with completely clean, dry nails. Remove all traces of previous polish and wash hands thoroughly with dish soap, which cuts through oils more effectively than regular hand soap. Avoid hand lotion for at least 2 hours before application.
Light filing to create microscopic roughness improves adhesion significantly. Use a 180-grit file and gently buff the entire nail surface in one direction. This creates mechanical anchoring points for the base coat.
Cuticle preparation matters more than most people realize. Gel that touches skin or cuticles creates weak spots that lead to lifting. Push cuticles back gently and use a small brush to apply cuticle oil only to the skin, avoiding the nail plate entirely.
Dehydrating the nail plate removes microscopic moisture that interferes with adhesion. Rubbing alcohol or dedicated nail dehydrators work well. Apply with a lint-free pad and allow complete evaporation before applying base coat.
Application Technique for Professional Results
Thin coats are absolutely critical for salon-quality results. Thick gel coats don’t cure properly in the center, creating soft spots that dent and chip easily. Each coat should be barely visible when applied correctly.
Base coat application sets the foundation for everything else. Apply a thin, even coat that covers the entire nail plate without touching skin or cuticles. Cap the free edge by running the brush along the nail tip to seal the edge.
Color application requires patience. Two thin coats almost always look better than one thick coat. Allow each coat to cure completely before applying the next layer. Rushing this step causes adhesion problems and uneven color coverage.
Top coat application technique affects both appearance and durability. Apply top coat in thin, smooth strokes that level naturally. Avoid going back over areas once the top coat starts to set, as this creates texture and reduces shine.
Curing Parameters for Maximum Durability
Under-curing is responsible for most gel nail failures, but over-curing can also cause problems including brittleness and discoloration. Follow manufacturer specifications exactly – they’ve done the testing to determine optimal cure times.
Hand placement in the lamp affects curing consistency. Position hands palm-down with fingers spread and relaxed. Curved or tense fingers don’t receive even light exposure, leading to partially cured spots.
Multiple shorter cure cycles often work better than single long exposures, especially for dark colors or thick applications. Two 30-second cycles with a brief pause between usually cure more completely than one 60-second cycle.
Test curing completeness by gently pressing the nail surface with a clean tool. Properly cured gel should feel firm and not leave fingerprints or dents. Tacky surface residue is normal and removes easily with alcohol.
Maintenance and Touch-Up Techniques
Even perfect gel applications need maintenance to last their full lifespan. Small chips or lifting spots can be repaired without redoing the entire manicure if caught early.
Daily cuticle oil application keeps the nail area hydrated and prevents the lifting that often starts at the cuticle line. Use oils specifically formulated for gel nails, as some products can break down the polymer structure.
Minor chips can be filled with matching color gel and blended seamlessly if addressed within 24-48 hours. Clean the chipped area thoroughly, apply a thin layer of color gel, and cure normally. Finish with top coat over the entire nail for consistent appearance.
Leave a Reply