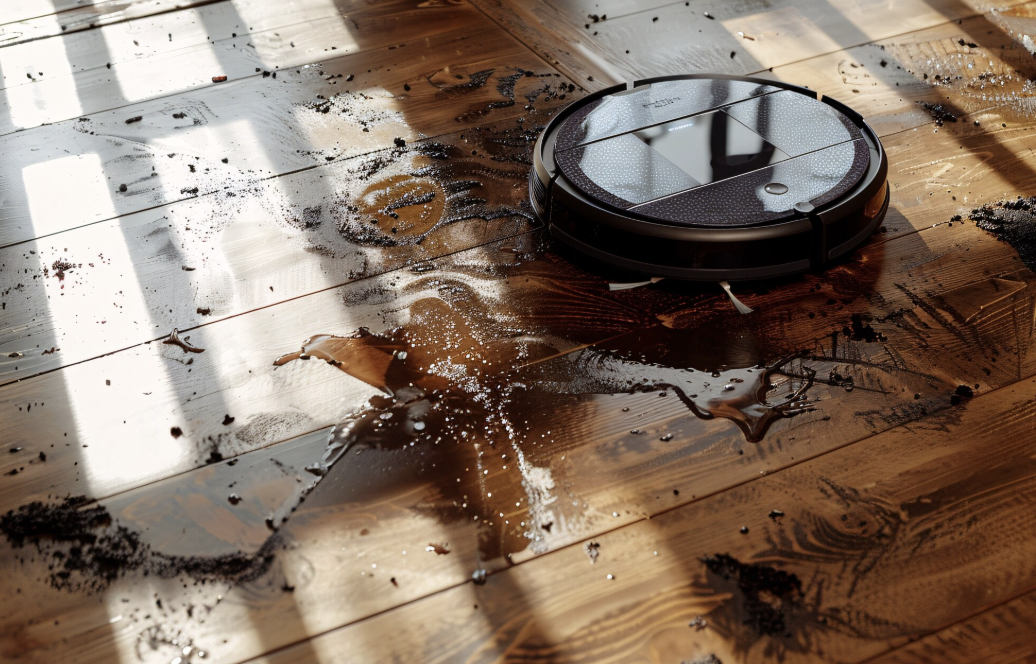
Water damage happens fast. A burst pipe, a leaking roof, or a flooded basement can destroy your home in hours. The water seeps into walls, ruins floors, and creates perfect conditions for mold to grow. Most homeowners feel lost when they first see the damage.
But you don’t have to panic. Knowing what to do right away can save you thousands of dollars. Whether you need help from a restoration company Loveland CO or you’re handling a small leak yourself, the first steps are the same.
Quick action makes all the difference between minor repairs and major destruction.
Why Speed Matters After Water Damage
Water doesn’t wait. It spreads quickly through your home, soaking into everything it touches. Within the first 24 hours, water damage can affect floors, walls, and furniture. Mold can start growing in just 24 to 48 hours after water appears.
According to ThisOldHouse, just one inch of water in a typical home can cause up to $25,000 worth of damage. That’s a huge cost for what seems like a small amount of water. The longer water sits, the more damage it causes.
After the first week, the situation gets much worse. Mold spreads rapidly. Wood warps and buckles. Metal surfaces start to rust. Your home’s structure weakens. The costs and time needed for repairs go up dramatically.
Step 1: Make Sure Everyone Is Safe
Your safety comes first. Before you do anything else, check if it’s safe to enter the damaged area.
Stop at the Door
Don’t rush into the water right away. Stand at the entrance and look for dangers. Watch for sagging ceilings, sparking outlets, or deep water. If you see any of these, stay out and call professionals.
Turn Off the Power
Water and electricity are a deadly mix. Go to your electrical panel and shut off power to all flooded rooms. If the panel is in the flooded area, don’t touch it. Call an electrician instead.
Mark which breakers you turned off with tape. This helps you remember later which areas have no power.
Wear Protective Gear
Even clean-looking water can be contaminated. Wear rubber boots and waterproof gloves. If you’re dealing with sewage backup or floodwater, you need even more protection. Consider wearing an N-95 mask and safety goggles.
Contaminated water carries bacteria, chemicals, and other harmful substances. Don’t take risks with your health.
Step 2: Stop the Water Source
The next critical step is stopping more water from entering your home. The source determines what you need to do.
For Burst Pipes
Turn off the main water valve near your water meter. Every homeowner should know where this is located before an emergency happens. If you can’t find it, call a plumber right away.
For Leaking Appliances
Shut off the water valve to the specific appliance. Most washing machines, dishwashers, and refrigerators have their own shut-off valves. Look behind or under the appliance to find it.
For Roof Leaks
Cover the damaged area with a tarp to keep more water out. This is a temporary fix until you can get proper repairs. Secure the tarp well so wind doesn’t blow it away.
For Flooding
If water is coming from outside flooding, wait for it to recede. Don’t try to stop natural flooding on your own. Move valuable items to higher ground and contact emergency services if needed.
Step 3: Document Everything for Insurance
Before you start cleaning, grab your phone and document all the damage. Your insurance company needs proof of what happened.
Take Photos and Videos
Photograph and record video of every damaged area. Get multiple angles of each room. Focus on walls, floors, ceilings, furniture, and any other affected items.
Date and time stamp your photos if possible. The more documentation you have, the better your insurance claim will be.
Make a List
Create an inventory of all damaged items. Write down what each item is and estimate its value. If you have receipts, find them. Original purchase information strengthens your claim.
Call Your Insurance Company
Contact your insurance provider as soon as possible. Have your policy number ready. They’ll explain what’s covered and what steps you need to follow.
Keep records of all communications with your insurance company. Write down names, dates, and what was discussed in each conversation.
Step 4: Remove Standing Water Quickly
Standing water causes more damage every minute it sits in your home. Get it out as fast as you can.
Small Areas
For minor flooding, use mops, towels, and buckets. Wring out towels into a bucket and empty it outside. This works for smaller leaks or limited water damage.
Larger Areas
Rent a wet/dry vacuum or shop vac from a local home improvement store. These tools remove water much faster than mops and towels. You can also use a portable pump for areas with several inches of water.
According to Angi, water damage restoration typically costs between $1,381 and $6,350, depending on the severity. Removing water quickly yourself can help keep costs on the lower end.
Don’t Wait
The first 4 to 6 hours are critical. Acting within this window helps reduce long-term structural damage and prevents mold from taking hold.
Step 5: Start the Drying Process
After removing standing water, moisture still hides in walls, floors, and furniture. This hidden moisture causes problems if you don’t address it.
Open Windows
If the weather is dry, open windows to create airflow. Fresh air helps dry out the space faster. However, if it’s humid outside, keep windows closed and use other drying methods.
Set Up Fans
Place fans around the damaged areas. Point them at wet walls, floors, and furniture. The moving air speeds up evaporation. Use as many fans as you can.
Use Dehumidifiers
Dehumidifiers pull moisture from the air. Rent or buy dehumidifiers and run them continuously. Empty the water collection tanks regularly.
Remove Wet Materials
Take up wet carpet if possible. Pull furniture away from walls. Remove soaked items like rugs, curtains, and cushions. These things trap moisture and slow down drying.
Complete drying usually takes several days. The goal is to dry everything within four days to prevent mold growth.
Step 6: Separate and Clean Your Belongings
Some items can be saved. Others are too damaged and need to be thrown away. Sort through everything as soon as possible.
Items You Can Save
Hard, non-porous items like plastic, metal, and glass can usually be cleaned and saved. Wipe them down with disinfectant. Some wood furniture can be saved if it dried quickly and didn’t warp.
Items You Should Throw Away
Porous materials that absorbed water often can’t be saved. This includes soaked carpets, mattresses, pillows, books, and cardboard boxes. If these items were exposed to sewage or contaminated water, definitely throw them out.
Clean Thoroughly
Use a disinfectant or mild bleach solution to clean all salvageable items and surfaces. This kills bacteria and mold spores. Follow product directions for safe use.
Step 7: Watch for Hidden Damage
Water travels through your home in ways you can’t always see. It hides behind walls, under floors, and in ceilings.
Signs to Look For
Check for water stains, discoloration, warping, or strange odors. These indicate water damage even if you can’t see the water itself. Musty smells often mean mold is growing somewhere hidden.
Check Common Problem Areas
Inspect under sinks, around toilets, near washing machines, and in basements. Look at your roof and foundation for cracks or damage. These spots often develop leaks that go unnoticed.
Consider Professional Tools
Moisture meters detect hidden water in walls and floors. Thermal imaging cameras show wet areas that aren’t visible. Professionals use these tools during inspections.
Step 8: Call Professional Restoration Services
Some water damage is too severe for DIY cleanup. Professional restoration companies have the equipment and expertise to handle serious situations.
When to Call Professionals
Call experts if you have sewage backup, extensive flooding, or water that came from outside. Also call if you see signs of structural damage or if the affected area is very large.
Professionals should handle Category 2 and Category 3 water. Category 2 water comes from sources like washing machines and contains some contamination. Category 3 water is heavily contaminated sewage or floodwater.
What Professionals Do
Restoration companies provide complete services from start to finish. They remove all water, dry out hidden moisture, repair structural damage, and prevent mold growth.
They use industrial-grade equipment like powerful dehumidifiers, air movers, and moisture detection tools. This equipment works much better than household fans and dehumidifiers.
Available 24/7
Most restoration companies offer emergency response around the clock. Water damage doesn’t happen on a schedule. Having experts available any time of day or night helps you get help when you need it most.
Understanding the Costs
Water damage restoration varies widely in price. Several factors affect the final bill.
What Influences Cost
The type of water matters a lot. Clean water from a burst pipe costs less to clean than contaminated sewage water. Contaminated water requires special protective equipment and disposal methods.
The size of the damaged area also affects price. A single room costs less than multiple floors. The longer water sits, the more expensive repairs become.
Materials that need replacing add to costs. Drywall, flooring, insulation, and structural wood all have different price points.
Typical Price Ranges
Minor water damage that affects one part of a room can cost as little as $150 to fix. More serious damage affecting whole rooms or multiple areas typically runs between $1,381 and $6,350.
Severe flooding or sewage backup can cost tens of thousands of dollars. In extreme cases, restoration costs can reach $80,000 or more for basement flooding with contaminated water.
Preventing Future Water Damage
After dealing with water damage once, you’ll want to prevent it from happening again.
Regular Maintenance
Check your plumbing and appliances regularly. Look for small leaks and fix them right away. A tiny leak can waste 3,000 gallons of water per year and cause gradual damage.
Clean your gutters twice a year. Clogged gutters cause water to overflow and seep into your home’s foundation.
Install Detection Devices
Place water leak detectors in high-risk areas like basements, near water heaters, and under sinks. These devices alert you to leaks before major damage occurs.
Know Your Shut-Off Valves
Make sure everyone in your household knows where the main water shut-off valve is located. Practice turning it off so you can do it quickly in an emergency.
Consider Flood Insurance
Standard homeowners insurance doesn’t cover flooding from outside water sources. If you live in a flood-prone area, purchase separate flood insurance through the National Flood Insurance Program or a private insurer.
Common Questions About Water Damage
How long does it take for water damage to dry? It depends on the amount of water and the materials affected. Small areas might dry in 72 hours. Larger areas or areas with significant water damage can take several days to a week to dry completely.
Can water damage dry on its own? Yes, but it takes weeks and causes major problems along the way. Mold grows during this time. Waiting for natural drying leads to more expensive repairs and health hazards.
Will my insurance cover water damage? It depends on the cause. Most homeowners insurance covers sudden, accidental water damage like burst pipes. It usually doesn’t cover flooding from outside water sources or damage from lack of maintenance.
When should I call professionals instead of doing it myself? Call professionals for sewage backup, extensive flooding, contaminated water, structural damage, or if you’re unsure about safety. Also call if mold is already growing or if the damage affects multiple rooms.
Take Action Now
Water damage gets worse every hour you wait. The steps you take in the first day make the biggest difference in how much damage your home suffers and how much repairs will cost.
Start by making sure everyone is safe. Then stop the water source, document everything, remove standing water, and begin drying. Watch for hidden damage and don’t hesitate to call professionals when needed.
Remember that 98% of basements experience some form of water damage during their lifetime. This is a common problem, and there are proven ways to handle it. Stay calm, work quickly, and follow these steps. Your home can recover from water damage when you take the right actions at the right time.


Leave a Reply