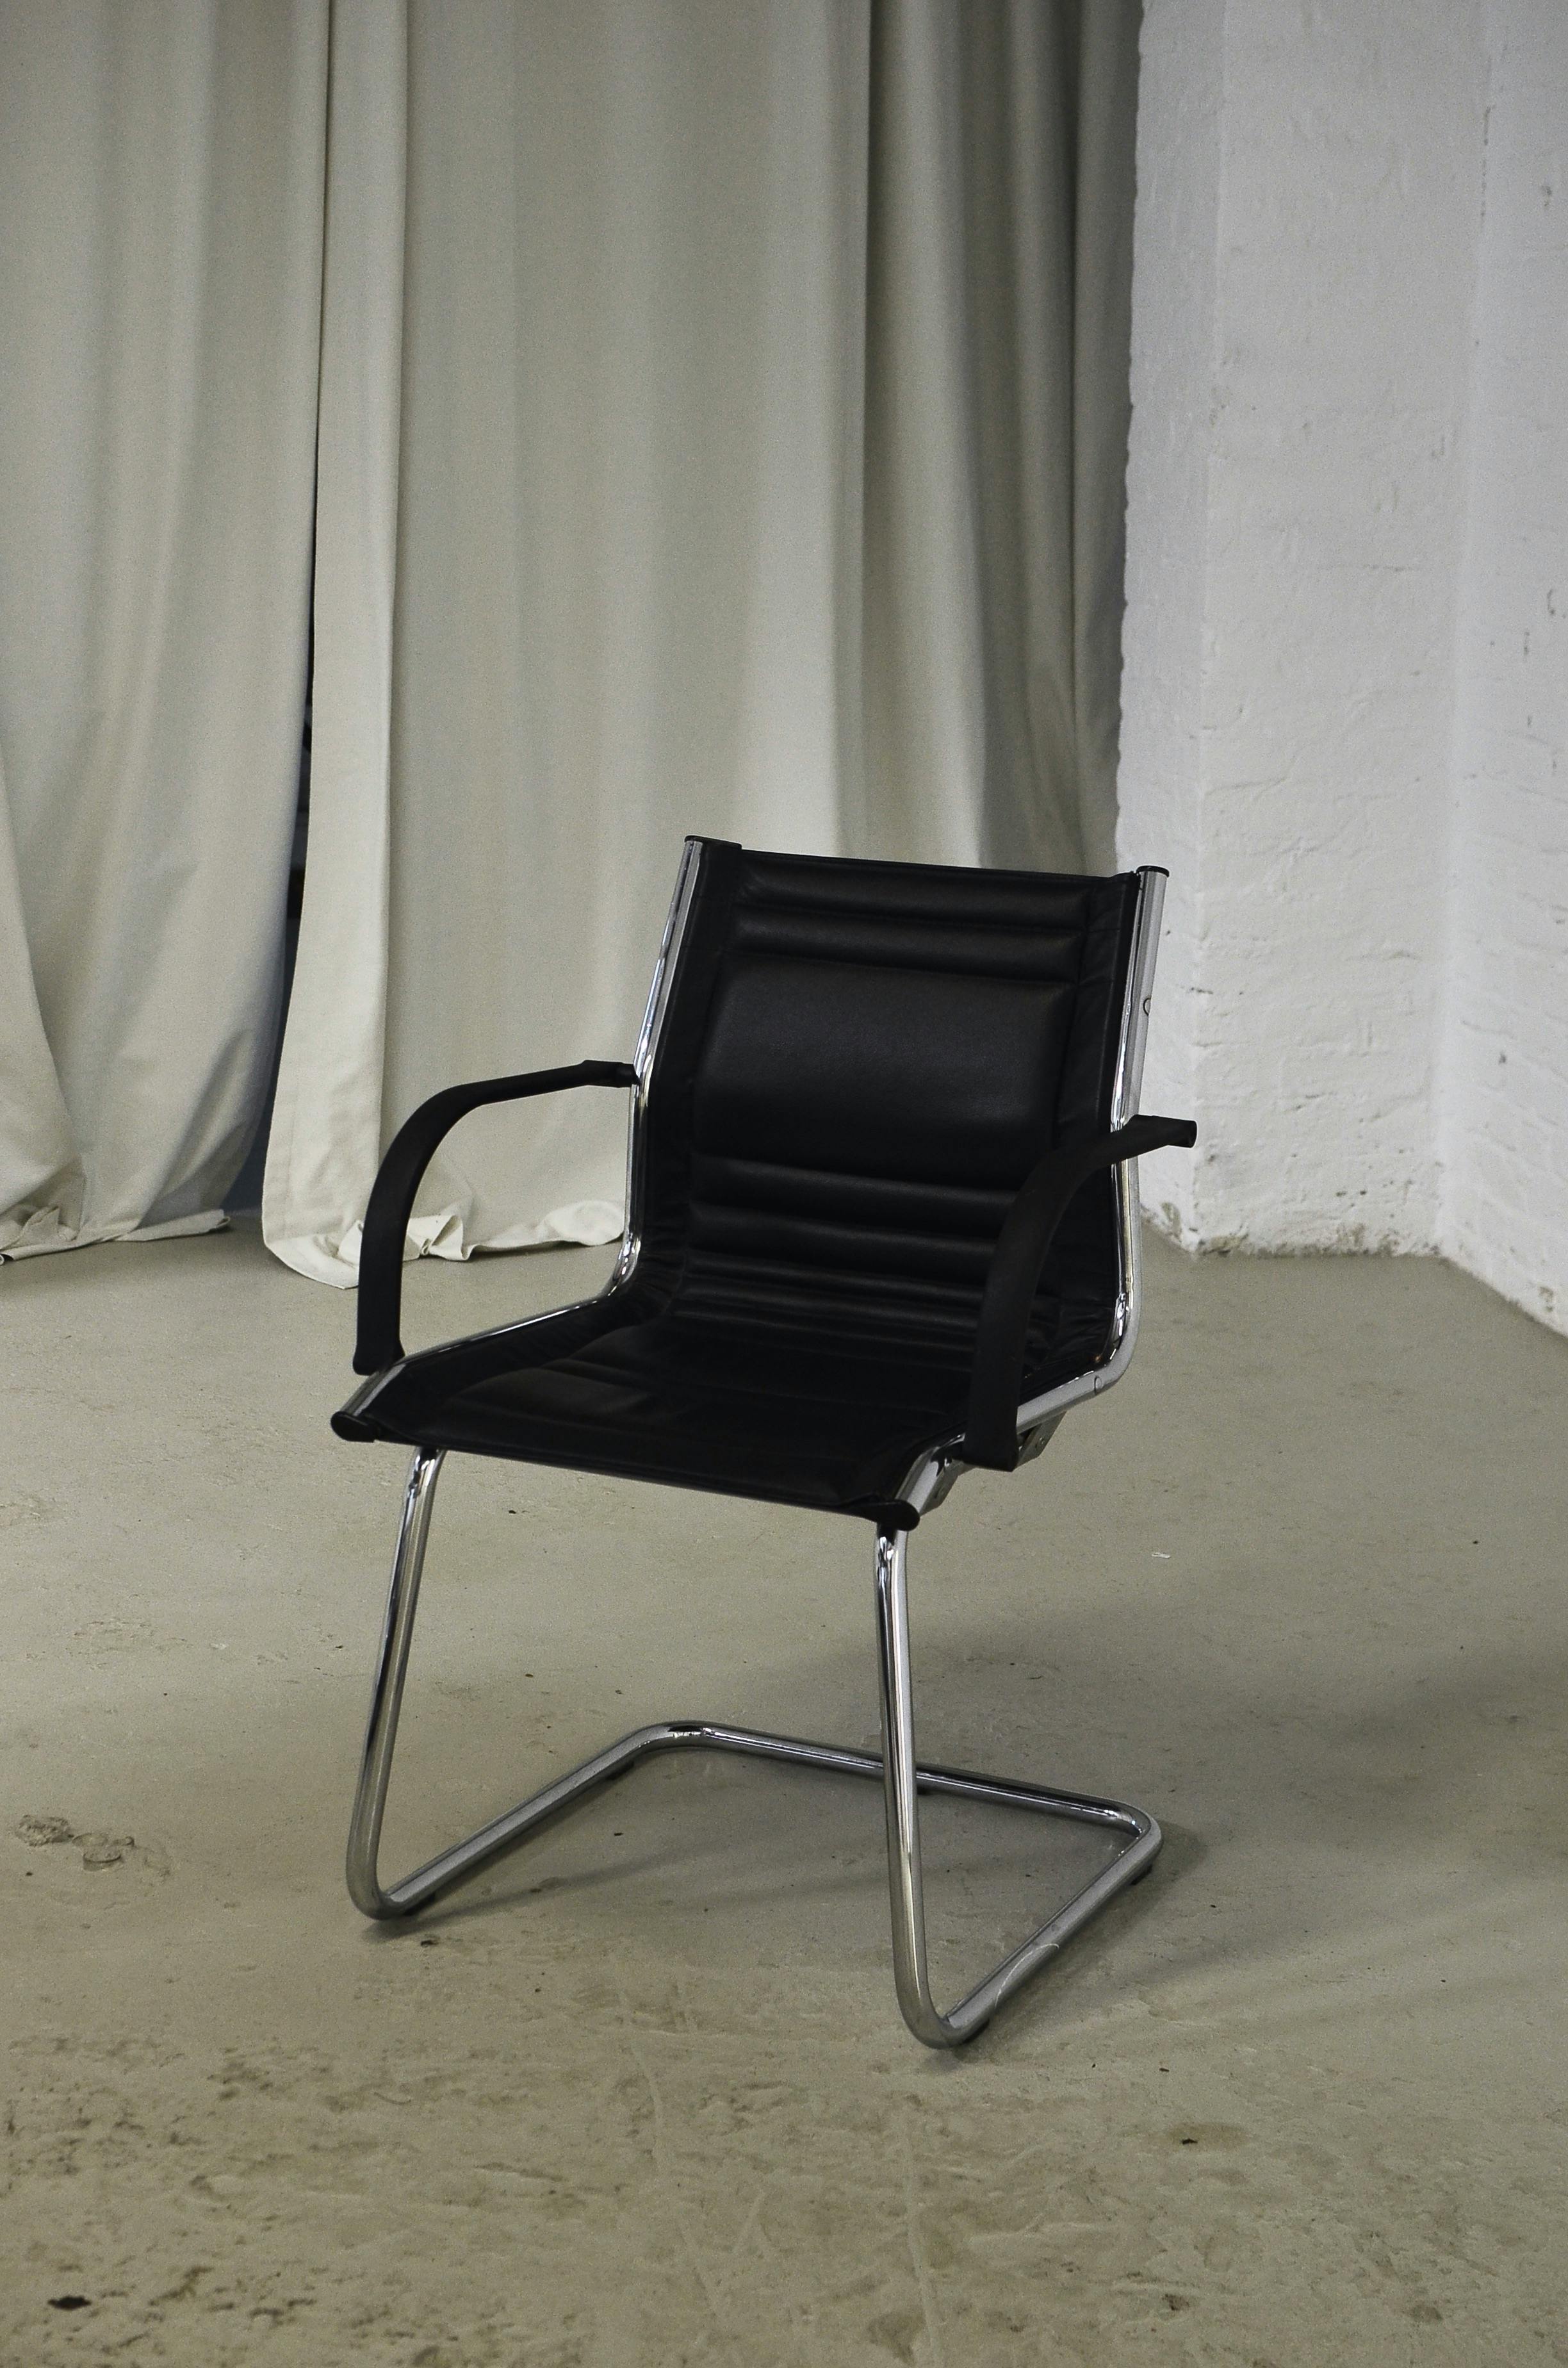
You’ve made a smart investment in your health by choosing an ergonomic mesh chair—perhaps even the best ergonomic chair you could find. Yet, after hours at your desk, you still feel that familiar ache creeping into your lower back, neck, or shoulders. The simple truth is that even the most advanced mesh chair is only as good as its setup. An unadjusted chair is little more than an expensive rolling seat.
At Harunamu, our expertise lies not only in providing a wide range of high-quality, supportive furniture but also in ensuring our clients use them effectively. We understand that instant pain relief comes not from the price tag, but from precision adjustments tailored to your unique body structure.
This comprehensive guide will walk you through the essential, step-by-step adjustments that turn your ergonomic mesh chair into a personalized tool for sustained comfort and peak productivity.
1. The Foundation: Why Adjustment is Essential for the Best Ergonomic Chair
The fundamental principle of ergonomics is that the workstation must adapt to the worker, not the reverse. An ergonomic mesh chair is designed with multiple articulation points precisely because human bodies come in different shapes and sizes. When a chair is properly adjusted, it achieves neutral posture, where the joints are naturally aligned, minimizing stress on the tendons, muscles, and—most importantly—the spinal discs.
The Expert View on Posture
Decades of research have confirmed that static, prolonged sitting is detrimental to health. Organizations like the Occupational Safety and Health Administration (OSHA) advocate for maintaining a seated posture that is upright or slightly reclined (100° to 110°), emphasizing the need for feet to be flat on the floor and the back to be fully supported. Without proper adjustment, your body compensates for poor alignment, leading directly to chronic pain.
2. Step-by-Step Adjustment Guide: From the Ground Up
To achieve instant pain relief, always adjust your mesh chair in the following sequence, as each step influences the next:
Step 1: Seat Height and Foot Position (The Grounding)
- Goal: Ensure feet are firmly planted and hips are stabilized.
- Action: Adjust the chair height so your feet rest flat on the floor or a stable footrest. Your knees should be bent at a 90-to-100-degree angle, and your thighs should be parallel to the floor.
- Why It Relieves Pain: This stabilization prevents the pelvis from tilting forward or backward, which is the root cause of much lower back pain. If the chair is too high, you slide forward, losing lumbar support.
Step 2: Lumbar Support (The Spine Anchor)
- Goal: Anchor your lower back to maintain the spine’s natural ‘S’ curve.
- Action: Adjust the height of the lumbar support (usually a knob or sliding panel on the backrest) so it rests directly into the inward curve of your lower back, just above the waistline. If your ergonomic mesh chair has depth adjustment (in and out), turn the knob until you feel gentle, firm pressure supporting the curve.
- Why It Relieves Pain: This adjustment is non-negotiable for low back pain relief. By filling the void above your tailbone, the lumbar support carries the load of your upper body, keeping the spinal discs properly aligned. A quality best ergonomic chair will always include robust lumbar adjustability.
Step 3: Seat Depth (The Thigh Rule)
- Goal: Support the full length of your thighs without cutting off circulation.
- Action: Use the seat slider (usually a lever beneath the seat) to move the seat pan forward or backward. You should be able to comfortably place two to three fingers between the front edge of the seat and the back of your knees.
- Why It Relieves Pain: If the seat is too deep, you are forced to sit forward, losing the lumbar support you just adjusted. If it’s too shallow, it fails to support your thighs, causing poor weight distribution.
Step 4: Armrests (The Shoulder Relaxer)
- Goal: Offload the weight of your arms from your neck and shoulders.
- Action: Adjust the armrests until they are roughly level with your desk height. Your elbows should be bent at a comfortable 90-degree angle, resting lightly on the armrests (or your desk) while your shoulders remain relaxed and not hunched upward. Use 3D/4D adjustments to adjust the width and depth if your shoulders are narrow or broad.
- Why It Relieves Pain: Your arms weigh a surprising amount. If the armrests are too low, the weight is borne by your trapezius muscles, leading directly to neck and upper back tension.
Step 5: Backrest Angle and Tension (Dynamic Support)
- Goal: Achieve a supportive angle that encourages movement.
- Action: Unlock the tilt mechanism (if not already unlocked). Lean back slightly until you are at an angle of approximately 100° to 110° (slightly reclined). Adjust the tilt tension (usually a large knob beneath the seat) so the backrest provides resistance but allows you to move easily.
- Why It Relieves Pain: According to research conducted by the Human Factors and Ergonomics Society, slight recline significantly reduces the load on the spinal discs compared to a fixed, upright 90-degree posture. Dynamic sitting—where you occasionally move and change posture—is healthier than static sitting.
3. The Mesh Chair Advantage: Breathability and Durability
The mesh chair has become the industry standard for a reason. Its unique material composition directly contributes to pain prevention in ways that traditional foam cannot match.
A. Breathability for Sustained Focus
In warmer climates, mesh’s open weave allows for continuous airflow, preventing heat and moisture buildup. This comfort factor is critical: when you are cool and comfortable, you are less likely to fidget, meaning you maintain the proper, supportive posture you just adjusted, leading to sustained relief.
B. Dynamic Support and Longevity
The high-tension mesh used in a best ergonomic chair provides supportive, even distribution of body weight. It flexes slightly to conform to your shape, acting as a suspension system. Unlike foam, which eventually compresses and bottoms out (creating pressure points), mesh retains its tension over many years, maintaining the structural support necessary for pain prevention.
Turning Investment into Relief
An ergonomic mesh chair is an investment in your productivity, but it is the knowledge of how to adjust it that provides the true dividend of instant pain relief. At Harunamu, we believe that providing the best ergonomic chair means empowering the user with the expertise to customize it perfectly.
By methodically following these five steps—from establishing a stable foundation at your feet to fine-tuning the tilt tension—you transform your chair from a commodity into a precision-engineered tool that actively supports your spine, relieves tension, and sustains your focus throughout the workday.




Leave a Reply